
Introduction
Welcome to the pitchblack raytracer! I wrote this raytracer for CSE168, a rendering class taught by Henrik Wann Jensen. The purpose of this website is to show and explain some features of pitchblack. The image below is my final rendering that won a "honorable mention" in the UCSD Rendering Competition 2005.

The Inspiration
I have always been fascinated by the work of M.C.Escher which he himself interestingly considered to be "the most beautiful and also the ugliest." When thinking about my final project, I ran all sorts of different Escher pictures through my head. First I thought about modeling and raytracing one of his "changing perspective" pictures, e.g. "Relatvity".

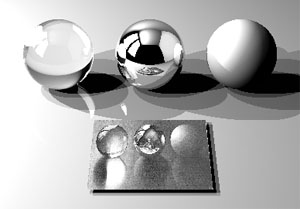
While very interesting geometrically, I thought that modeling all the figures walking up and down the stairs would be a very time-consuming task. Without them, however, the image would not look as interesting. So I kept searching and finally settled for Eschers "Three Spheres II", a very elegant and simple drawing of three balls, one made out of glass, one with a mirror coating and one with diffuse material.
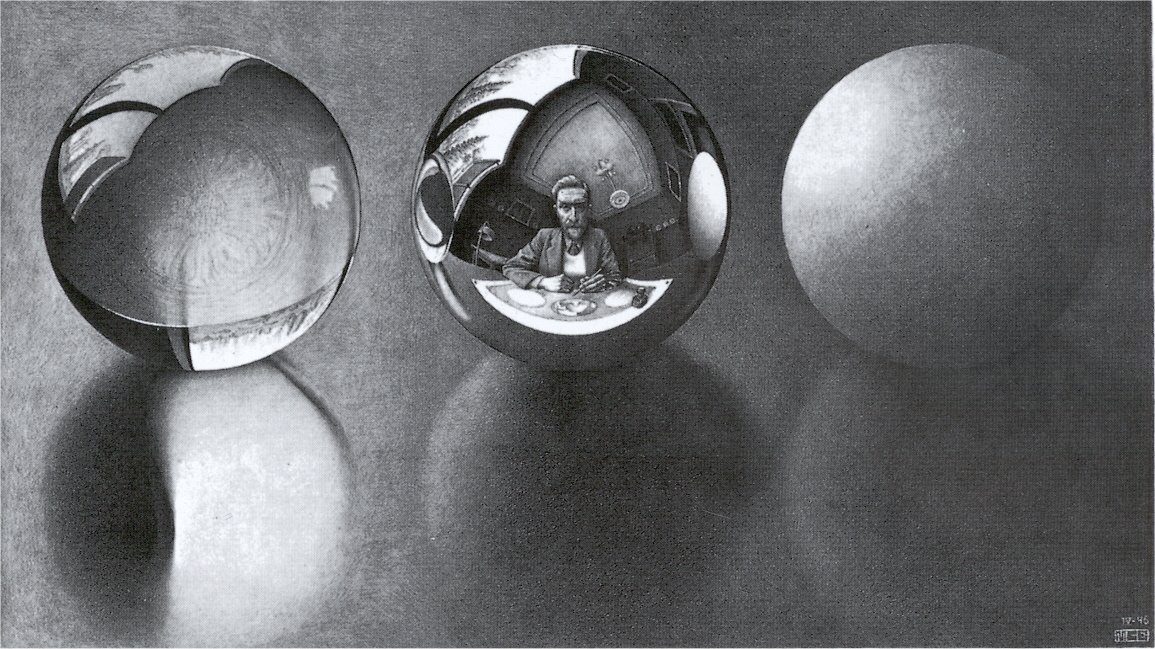
What I found perticularily fascinating about this picture was how well Escher captured the different physical phenomena such as diffuse and specular reflection and refraction using a drawing technique called lithography. For my final rendered image, I wanted to achieve a similar hand-drawn look while still capturing most of the physical phenomena.
The Techniques
Even though the final image had to look hand-drawn, I knew that accurate computation of reflections and refractions was very important to make the glass and mirror ball convincing. Also, since the three balls are illuminated by light coming through two big windows, implementing nice soft-shadows was another important point. Finally, producing an Escher inspired picture that does not include self-recursion in some way would not show enough appreciation for his work, so I knew I had to implement texture mapping to be able to place a piece of paper in front of the mirror ball that shows the final rendering.
Soft Shadows
The first step towards soft shadows was to implement an area light source with correct falloff. At first I implemented a random sampling of the light source. The result of this method can be seen on the left image below. To reduce the noise that is present in that picture, I used a regular grid pattern to sample the light source. The result with a 3-by-3 grid is shown in the middle picture. Now, the noise is completely gone, but is replaced by an unnatural "banding". The final method uses a jittered grid sampling which is a mixture of the two earlier techniques. Here, the light source is first divided into small regular grid cells. Then samples are placed randomly inside each of those small cells. The right image shows the result of using this method with a 3-by-3 grid and one random sample per grid cell.

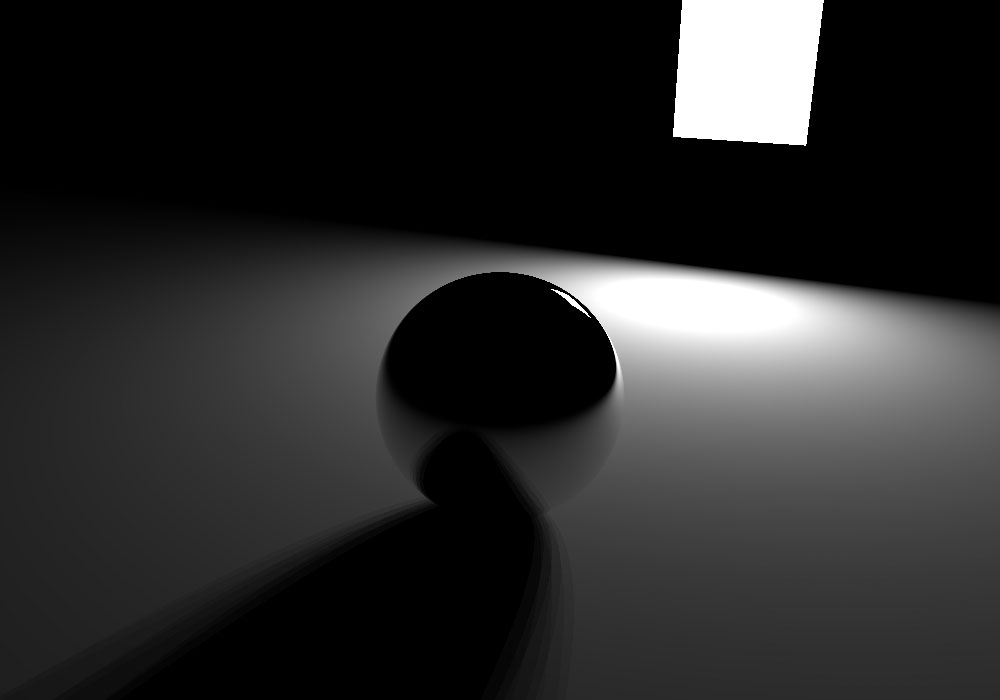

Finally, to produce really nice soft shadows, I used a 3-by-3 jittered grid with 3 samples per grid cell, so a total of 27 samples per shaded point. The result of that is shown below.

Reflection and Refraction
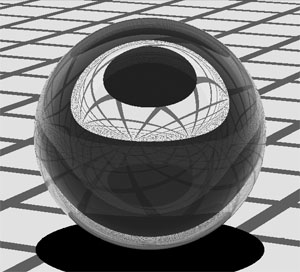
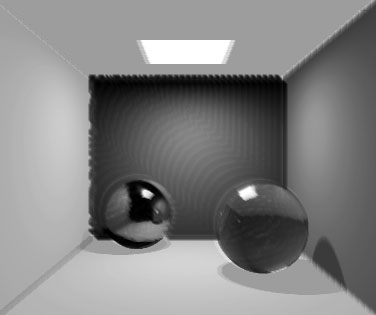
To achieve nice and realistic refractions for the glass ball, a ray of light has to change its travel direction according to Snells law when passing a boundary between denser and lighter materials (glass and air for instance). Then, to determine the correct amount of light that is reflected and refracted, the Fresnel terms have to be computed. Getting all of this right wasn't so easy at first, so I had to struggle with bugs in my code. When writing a raytarcer though, bugs are sometimes pretty cool which can be seen in the image below.
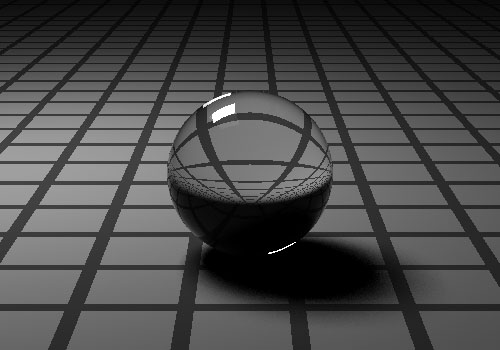
Once the code was (mostly) free of bugs, it produced pretty nice pictures of glass balls (see below). It is very important to allow a high number of recursive rays to be cast in order to achieve nice results. This is why I implemented a ray-weight at this point as well. With this technique, each ray stores the percentage of the radiance it carries that will make it through the final pixel on the screen. So if a ray gets reflected twice with a reflectance factor of 0.1, then it will only contribute 1% of the radiance it encounters after the second hit to the final pixel value. Storing this information allows us to discard "unimportant" rays, yet having a high recursion depth for rays that could potentially contribute a lot to the final pixel even after numerous bounces. (This happens when the ray consecutively hits highly reflective or refractive materials for example.)

Texture Mapping
Implementing texture mapping was pretty straight forward and didn't require a lot of tweaking. For reading in the texture map, I used the CImg library. A preliminary version of my final scene with the original Escher picture as a texture map can be seen below.
Hand drawing
Creating a picture with a hand-drawn look falls into the category of non-photorealistic rendering, NPR in short. My approach is a conceptually pretty simple one. My raytracer does not only store the radiance for every pixel, but also the surface normal at that point. In a post-processing step, after the image is rendered into an buffer R, which stores all the radiance values, an empty (white) buffer I of the same size is created. Now, every pixel in R is visited consecutively and a hatching pattern is centered at it. Then the hatching pattern, which is a rectangular little surface, is rotated according to the stored surface normal at that pixel. The resuting rotated version of the hatching pattern is then drawn into buffer I, it's radiance sceled by the radiance of the pixel stored in R.
There is one more thing that needs to be taken care of though. Since the hatching pattern size I chose is an 11-by-11 picture, if we were to superimpose rotated hatching patterns for every single pixel in R, the resulting image would be too blurry for general hatching patterns. Therefore, before drawing the hatching pattern for a perticular pixel in R, I check if the radiance that is stored in I for that pixel is already close enough to the value in R. Only if the difference between the values is high enough, do I draw the hatching pattern. (Note that the higher the tolerance is set, the more sketchy an image will look at the end.)
Below are some of my early attempts to implment the technique described above.


After a lot of playing around with hatching patterns, brush transparencies, and light exposure I finally got a result that I liked. A close up view of the reflective sphere is shown below.

The Final Image
At the end, I show the final image again. It was a lot of fun writing the raytracer and producing the final image.